Wednesday, May 28, 2014

Process of Making a Gown Part 1

Consider the fabric your using.  If your making something more structure, then maybe best use heavier weight fabric like satin.  If your going with more drape and flow, then perhaps chiffon maybe better.  There are many other fabric maybe used, it all depend design and feel your going for.  Whatever fabric you choose, do preshrink the fabric by steaming before cutting because you'll be doing a lot of ironing and steaming later and you don't want the fabric to shrink then.


Creating pattern for your design.  You can drape your pattern on the mannequin, draft a pattern on paper, or if your really skilled, you can just draft it right on the fabric.  For this particular one, I just used a pattern of bodice I've drafted a while ago for another design.


This is an example of an drape pattern.


This is the drafted bodice pattern I'm going to use. 


Monday, May 26, 2014

Gown to be Made


I've been wanting to start a business of making custom gowns.  As you could see the sketches I've been doing from the previous blog.  The sketch are small, it's for me to keep track of ideas and thoughts.  I've decided to start with a simple gown.  Here's a picture of a sketch.


To be continue....

Friday, May 2, 2014

April Gown Sketches


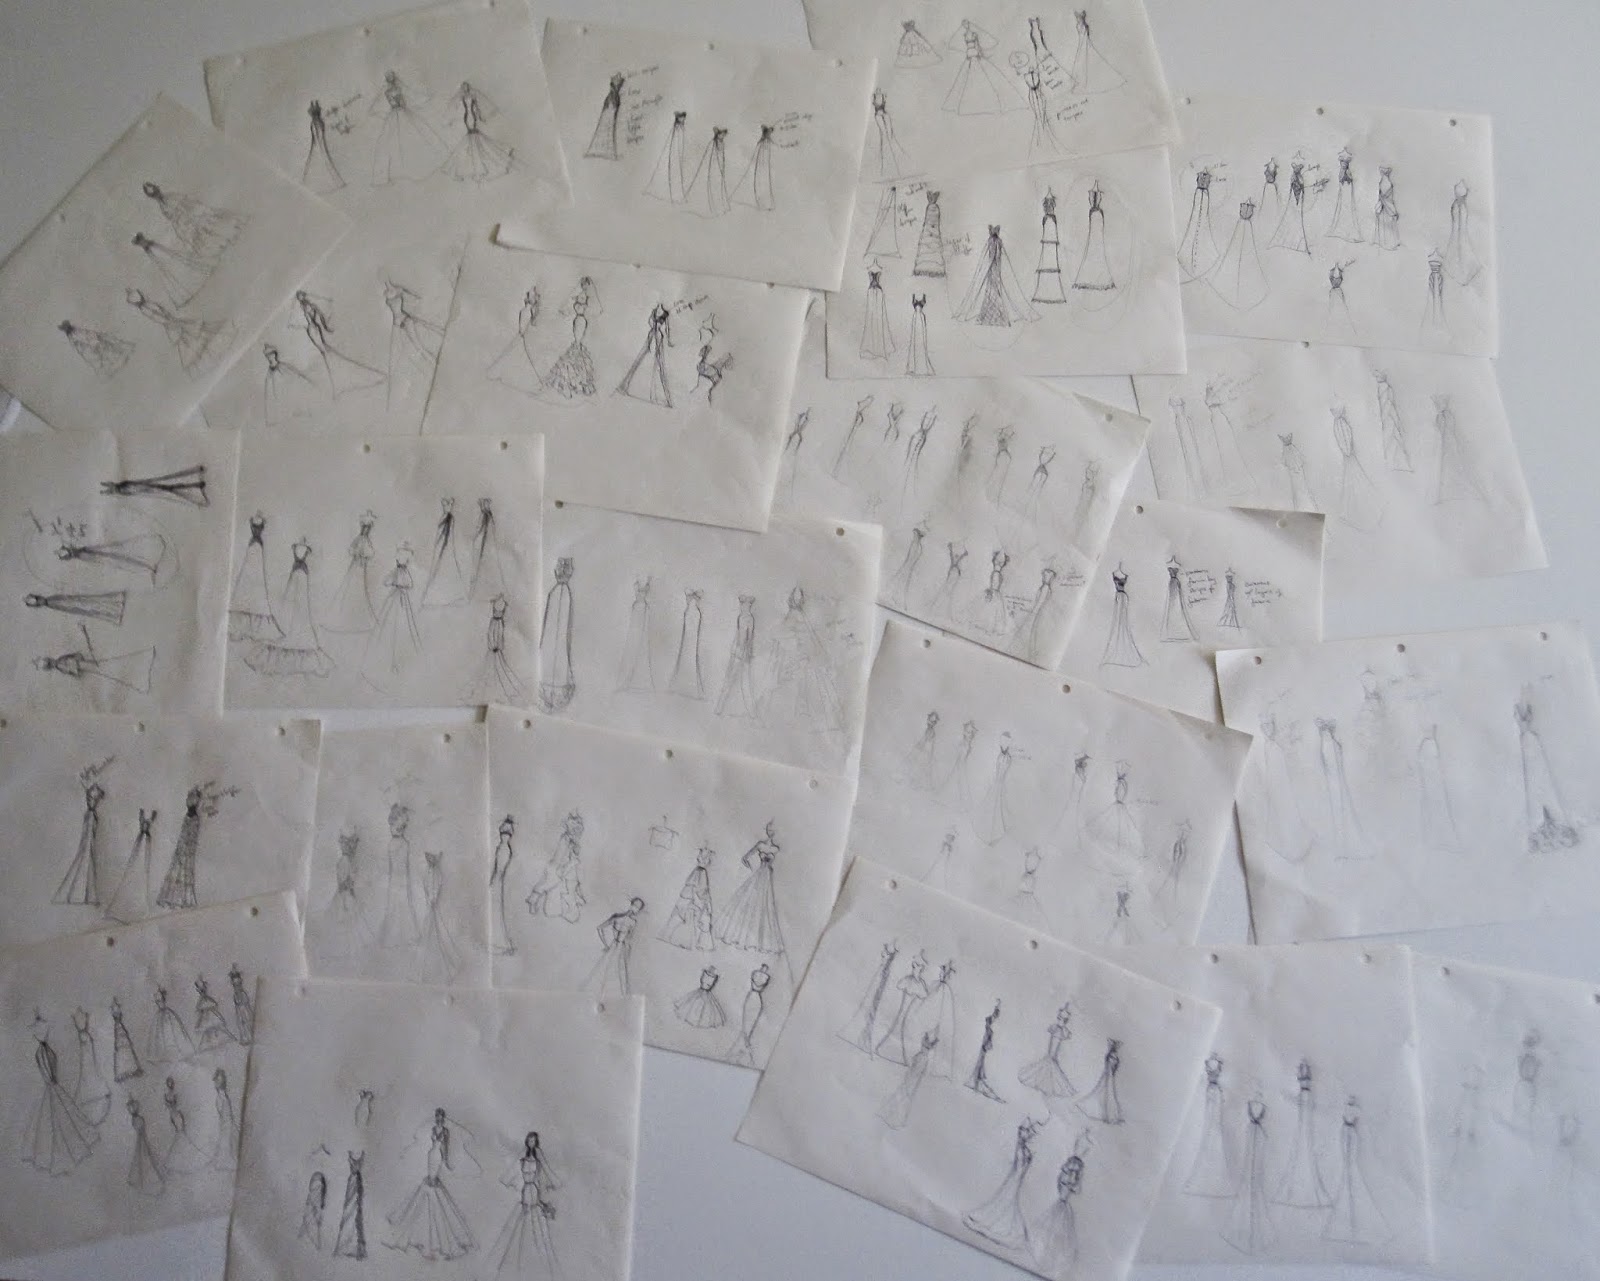
I've been working on creating new habits and last months habit was to do a little sketch everything.  Gown sketches in particularly because I want to design and make bridal gowns.  Thanks to my accountable partner Michal from Poland, I've done all these sketches.   =)


So now what?  I'm thinking of taking some of the idea and start trying to bring it to life.  For the next few months, beside fulfilling Etsy orders and creating new bridal accessories for my Etsy shop, I'll be working on making gowns.  

Monday, April 14, 2014

DIY Paper Fans/Rosettes for Wedding Decoration or Banner


You'll need some paper.  I like color with prints.  You may use solid one or texture one.


I used a 12" by 12" and cut it to three different size strips (2", 4" and 6").  You might want it bigger or smaller, test out different size with different width papers.


Fold the paper back and forth, repeat until the end of paper.


Then bend the folded paper in half.  You may keep the ends straight or cut it so it's rounded.  


Connect the open ends at the back side with tape.  If you want use both side, then just glue the open end together.  (You might want to use solid color or both side printed)


You can see here on the red on, half with the edge uncut and the other cut rounded.  I made a mixture of some cut rounded, some not, and some half rounded.


You may place it on the wall as wall decorations.


You may string them together and have it hang as banner.

You may glue it to sticks and stick it on ground next to the chairs as it leads up to the aisle.

This is fun, easy to do, cheap to make, and makes great decorations.  If you have kids, they'll love it too.

Thursday, March 27, 2014

Black Lack Bridal Comb


A new addition to the collection of bridal accessory.  =)

If interested please visit my Etsy shop bridalize

Thursday, March 20, 2014

Wedding Headpiece, Bridal Headband


These are the new headband for the beautiful brides out there.


The stuffed head like shape I've made today.  I think it display it pretty well.  =)

If you'll like the headband, please visit my shop

Monday, March 17, 2014